


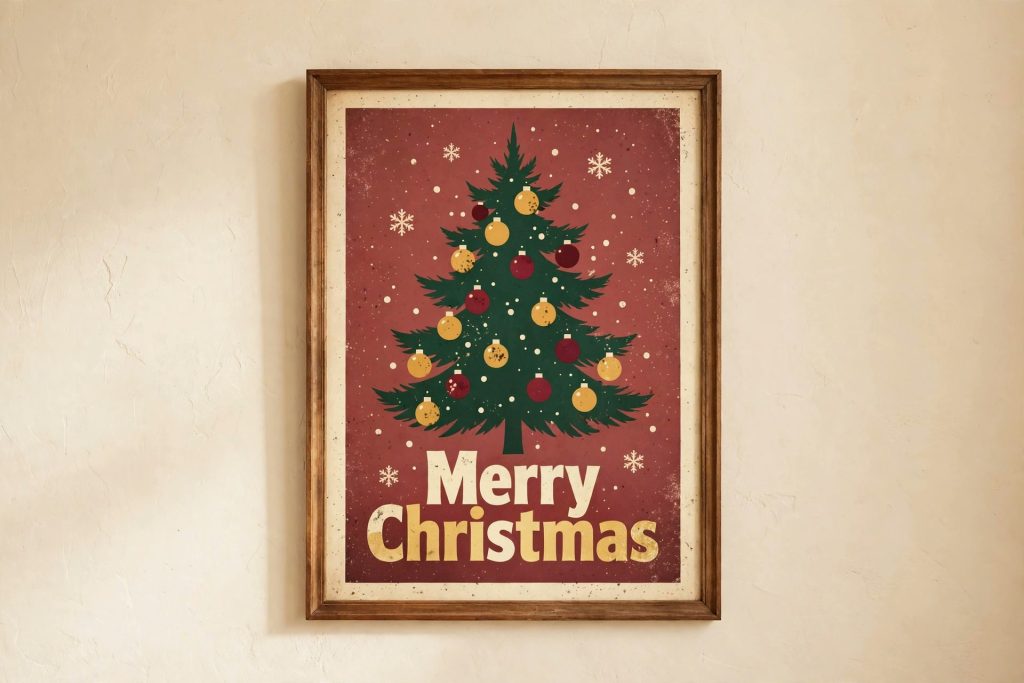
Christmas decor in 2026 is going backwards on purpose. Pinterest searches for “vintage Christmas wallpaper” are up 900% and “retro Christmas aesthetic” is up 235% — people want the warm, collected-over-time look of a 1950s Christmas, not a perfect store-bought one. The good news: you can design that exact wall art on your phone, free, in PixelLab. No desktop software, no paid templates.
What retro Christmas wall art looks like

Name
How to Design Retro Christmas Wall Art in PixelLab (Vintage 1950s Style)
Date
Catagory
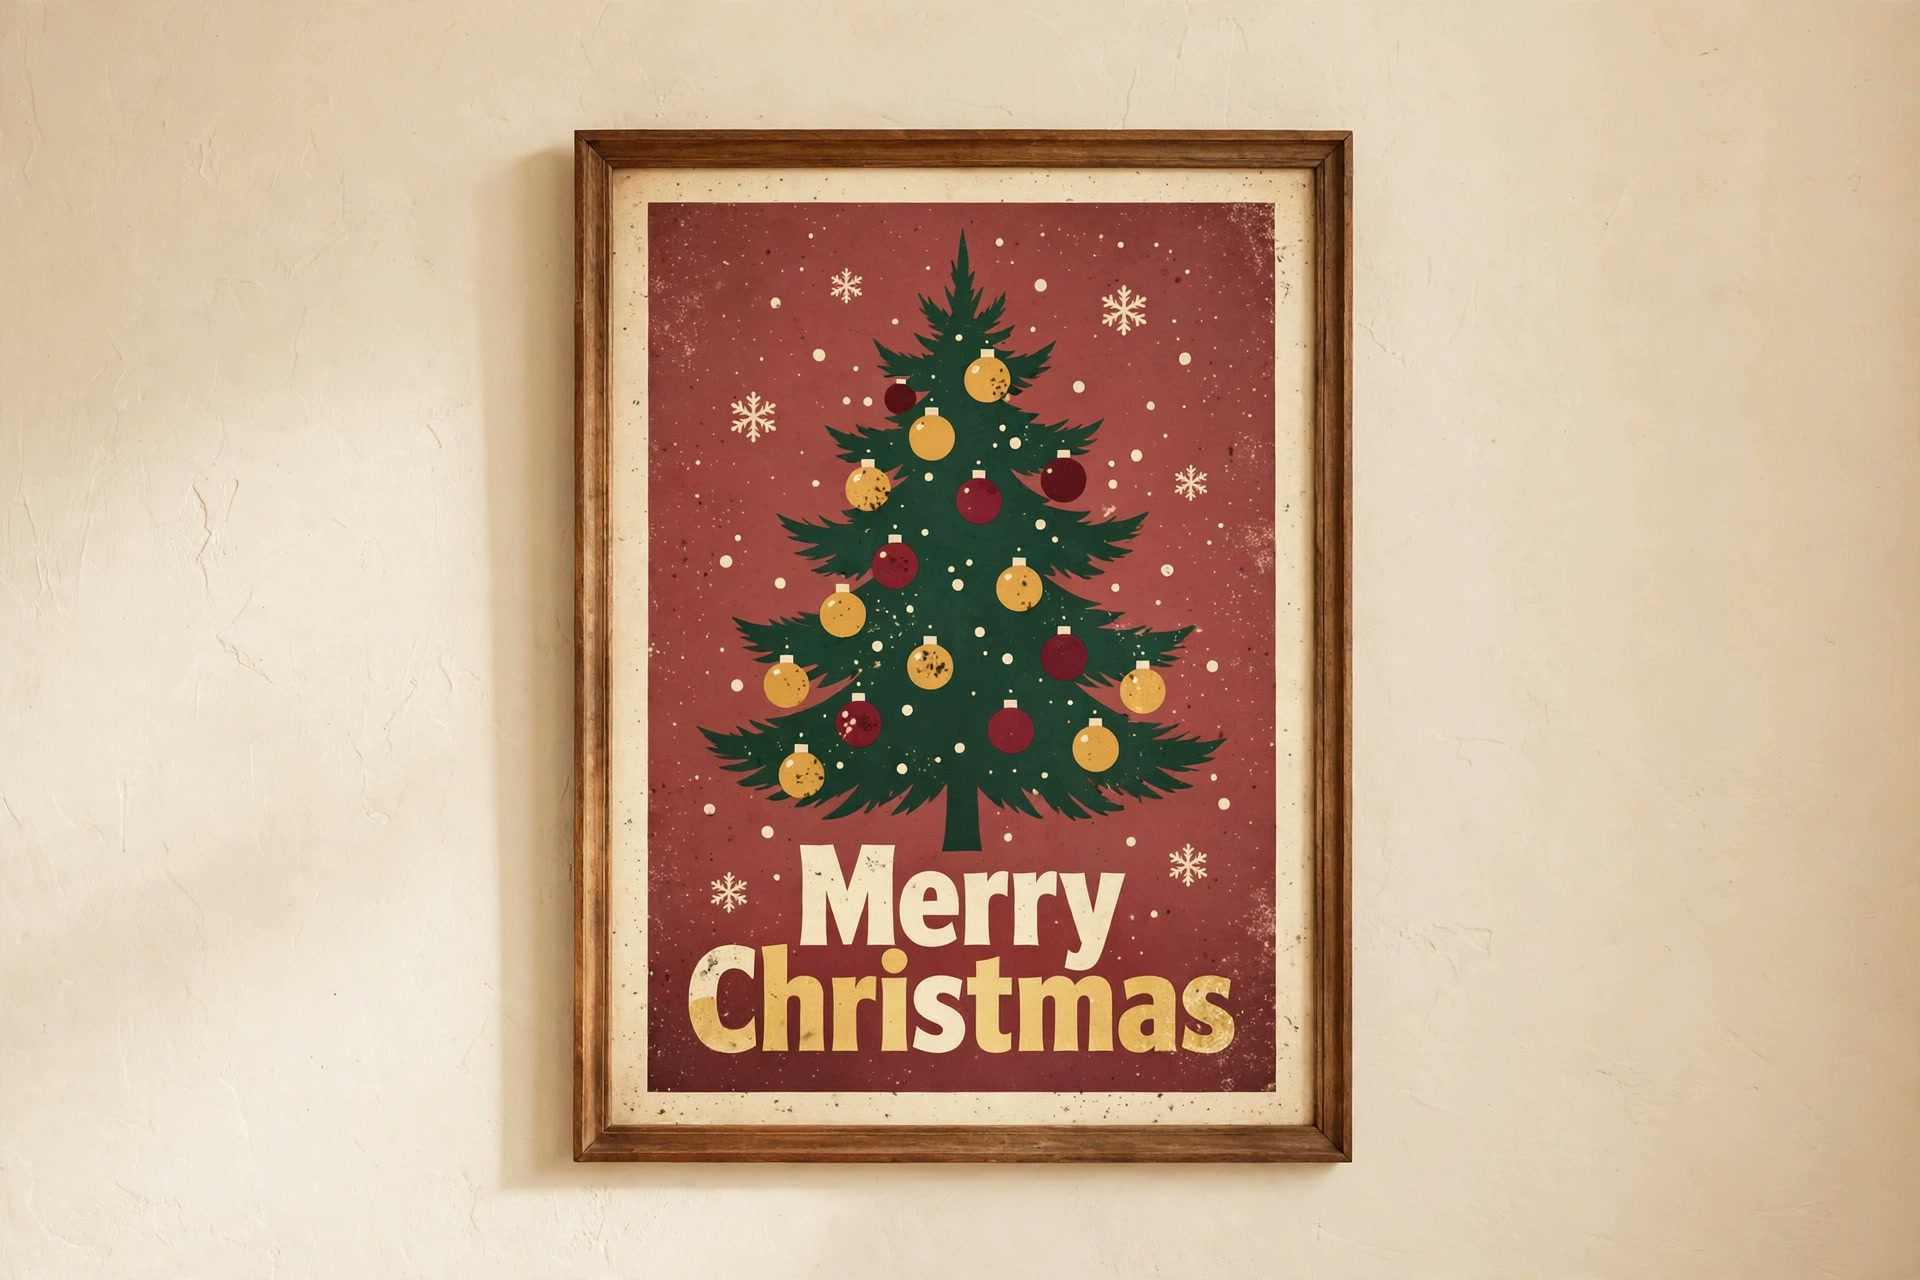
Think 1950s Christmas cards: muted wine red instead of bright red, warm cream instead of white, gold foil details, pine green, sugared fruit, classic round ornaments, simple snowflakes, and bold retro lettering. Nothing glossy, nothing neon. The charm is in the imperfections — a little grain, a little fade.
What you need
PixelLab app (free, Android), 10 minutes, one background image (a vintage wallpaper texture, or a plain colour — see the palette below).
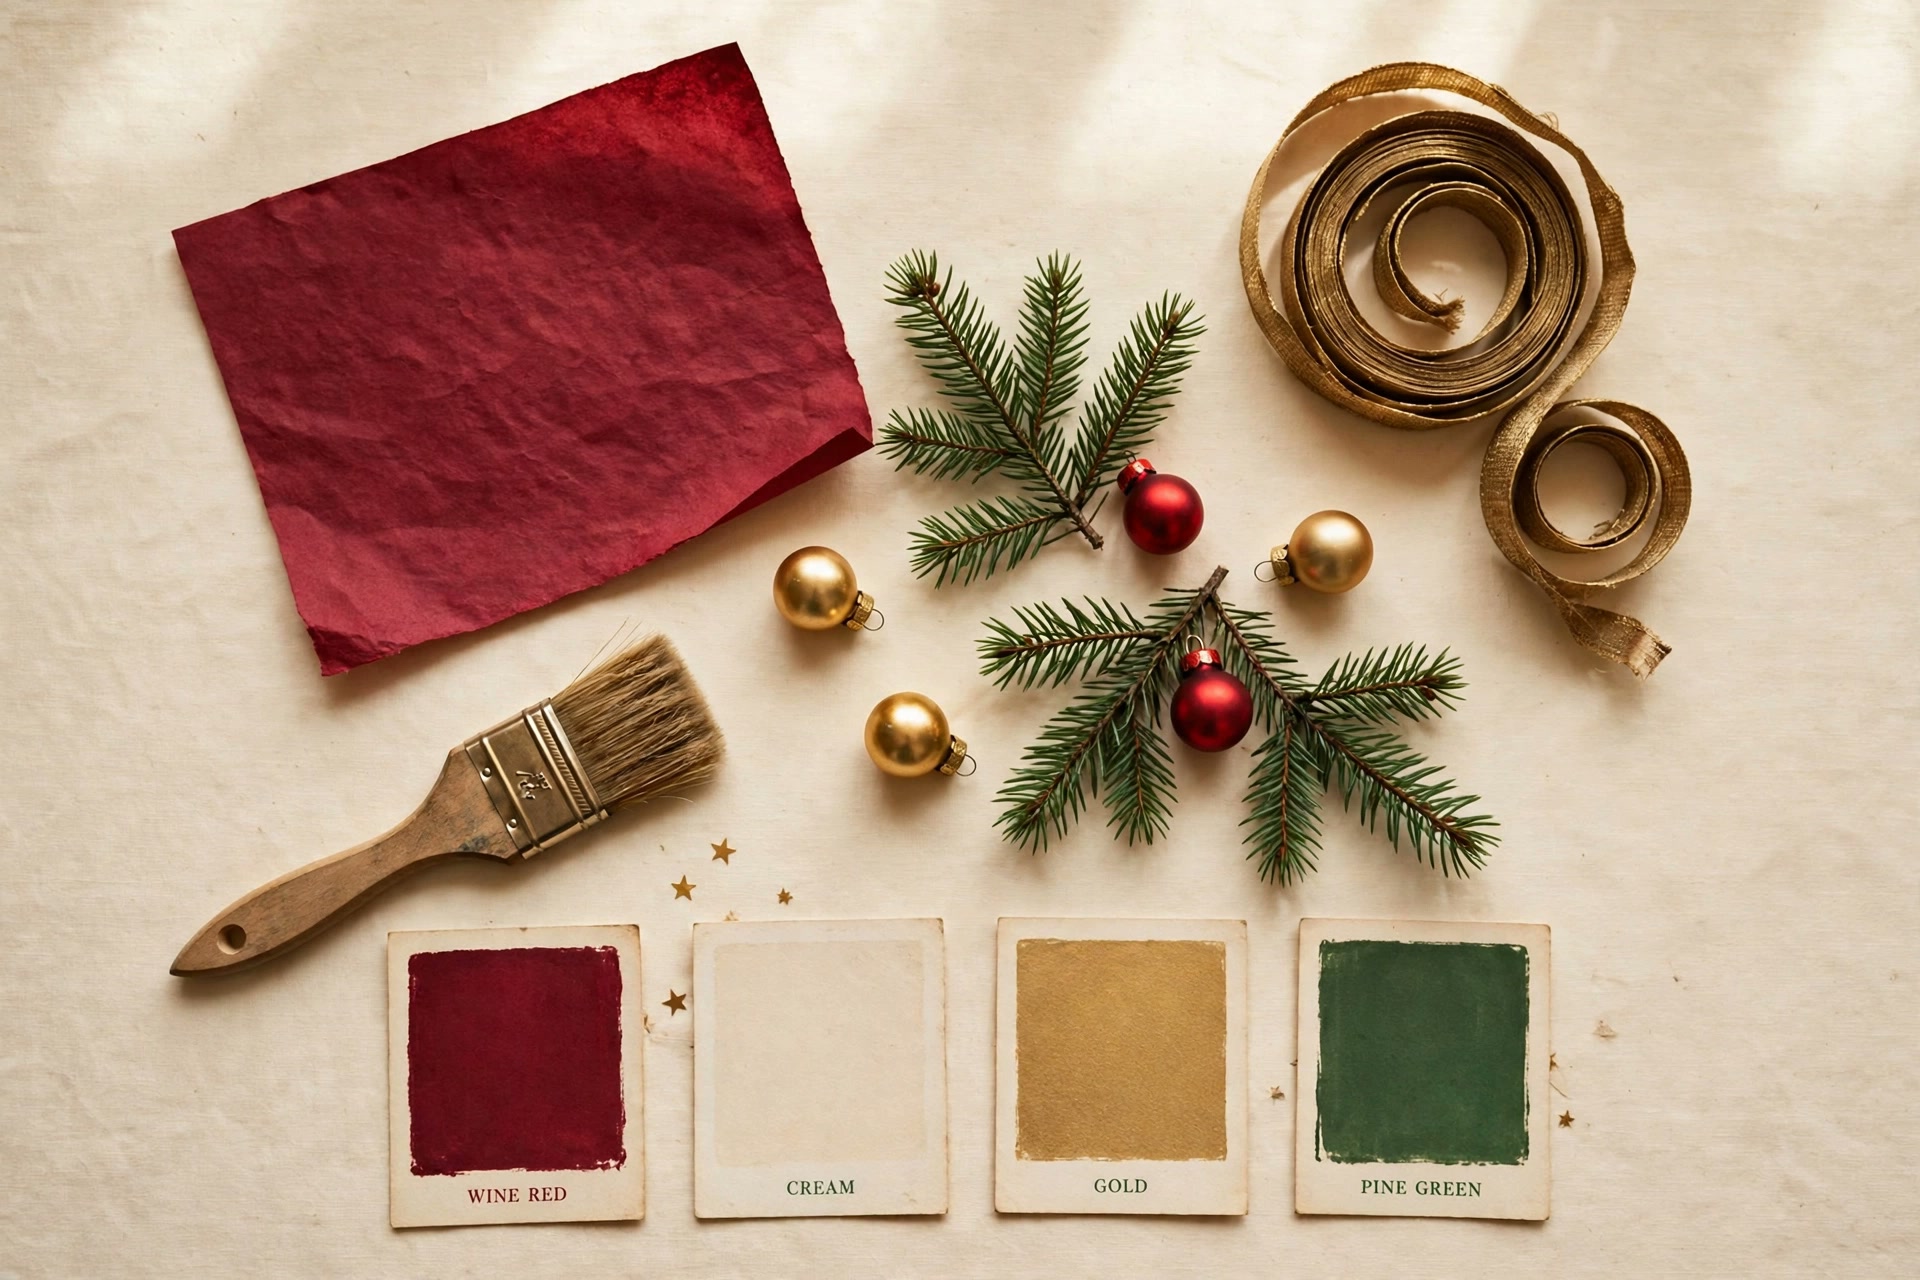
The retro Christmas palette
| Colour | Hex | Use it for |
|---|---|---|
| Wine red | #7B1E26 | Background or big text |
| Warm cream | #F5EFE0 | Background or text |
| Antique gold | #C9A227 | Ornaments, borders, accents |
| Pine green | #2D4A32 | Tree, wreath, leaves |
| Soft white | #FAF7F0 | Snow, highlights |
How to make it — 6 steps
- Step 1: Set the canvas. Open PixelLab, tap the image size icon, and pick a print-friendly size. For a wall print use A4 portrait (2480 x 3508 px) or for a phone wallpaper use 1080 x 1920 px. A bigger canvas keeps the print sharp.
- Step 2: Add the vintage background. Tap the background icon. Either pick a solid colour from the palette above (wine red looks best) or import a vintage wallpaper texture photo. Lower the texture opacity slightly so it feels aged, not busy.
- Step 3: Add the Christmas centrepiece. Add a simple centrepiece — a pine tree silhouette, a wreath, or three round ornaments in a row. Keep it centred and leave space around it; retro design breathes. You can draw simple shapes in PixelLab or import a transparent PNG. (Tip: remove a photo background first with our free Background Remover tool if your element has a white box around it.)
- Step 4: Add retro text. Tap the text icon and write “Merry Christmas” (or “Happy Holidays”). Pick a bold retro-style font, set it in cream or gold, and add a soft shadow underneath — the same layered-shadow trick from our 3D text tutorial makes the letters pop off the background. Keep it to one short line; two lines maximum.
- Step 5: Add the vintage finish. This is what makes it retro: add small snowflakes or stars in the corners, a thin gold border frame, and a light grain or vignette effect. Do not overdo it — one border and a few flakes are enough. If the design feels crowded, remove one element.
- Step 6: Export and print. Tap the share/save icon, export as PNG at the highest quality. For printing, PNG keeps the colours clean. Print on matte paper for the real vintage feel — glossy paper kills the retro look.
3 mistakes to avoid
- Too many colours. Retro means 3 colours maximum. Add a fourth and it stops looking vintage.
- Modern thin fonts. Thin, clean fonts look 2026. Retro needs bold, slightly condensed lettering.
- Filling every corner. Empty cream space is part of the design. Let it breathe.
FAQ
Is PixelLab free for this? Yes. Everything in this tutorial uses free PixelLab features. No premium version needed.
What size should I print? A4 (210 x 297 mm) is the easiest home print. The canvas in Step 1 is already A4-sized, so what you see is what you print.
Can I use my own photo as the background? Yes — import any photo, then lower its brightness slightly and add a cream overlay at low opacity for the aged look.
Can I make a matching phone wallpaper too? Yes. Duplicate the design, change the canvas to 1080 x 1920 px, and move the text up so it sits above your lock-screen clock.