
PixelLab 3D Text Tutorial: Create Eye-Catching Designs in 7 Easy Steps
If you’ve ever scrolled past a logo, poster, or Instagram post with eye-catching 3D text and wondered how it was made, there’s a good chance it was designed right on a smartphone using PixelLab. PixelLab 3D Text Tutorial: Create Eye-Catching Designs in 7 Easy Steps
This free mobile app has become a favorite among content creators, small business owners, and hobbyist designers because it makes professional-looking 3D text effects accessible to anyone — no computer or design degree required. In this guide, we’ll walk through exactly how to create 3D text in PixelLab, step by step, so you can start designing eye-catching graphics in minutes.
What You’ll Need

Name
PixelLab 3D Text Tutorial: Create Eye-Catching Designs in 7 Easy Steps
Date
Catagory
- The PixelLab app installed on your Android or iOS device (available on the Google Play Store and Apple App Store)
- A background image or plain color background (optional)
- 5–10 minutes
Step 1: Open a New Project
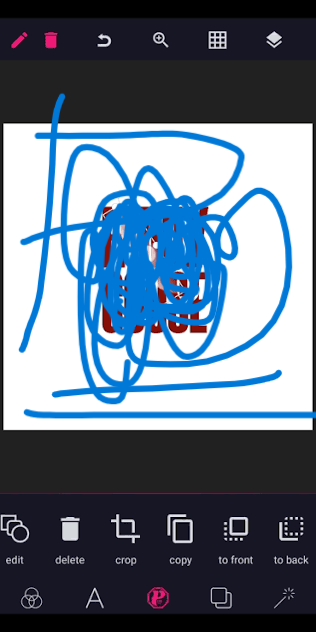
Launch PixelLab and tap the “+” button to start a new project. You can either choose a blank canvas or import a photo from your gallery to use as the background for your text.
Step 2: Add a Text Layer
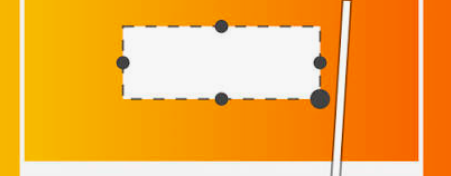
Tap the Text tool (usually shown as a “T” icon) to add a new text layer. Type out the word or phrase you want to turn into 3D text, then tap the checkmark to confirm.
Step 3: 3D Text Settings open
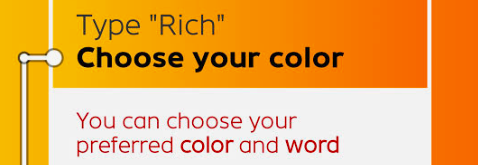
W pith your text layer selected, tap the 3D/Style option in the toolbar. This opens a panel where you can control how your text looks in three dimensions.
Step 4: Adjust Depth and Angle
Inside the 3D settings, you’ll find sliders for:
- Depth – controls how “thick” the 3D effect appears
- Angle/Rotation – tilts the text to create a more dynamic, dimensional look
- Light direction – changes where the highlight and shadow fall on the text
Play around with these until the text looks the way you want. A depth of around 15–25 with a slight rotation usually gives a clean, professional 3D look.
Step 5: Style the Text Surface
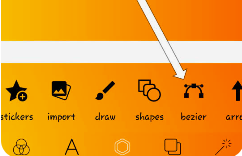
Now it’s time to make the text pop. Tap on Color/Texture to customize:
- Gradient fills for a modern look
- Metallic or glossy textures for a premium feel
- Outline and shadow to make the text stand out from the background
Step 6: Shadows and Highlights and more
Go back to the 3D panel and adjust the shadow opacity and highlight intensity. Subtle shadows make the text look like it’s genuinely sitting in 3D space rather than just being a flat image with a filter.
Step 7: Export Your Design
Once you’re happy with the result, tap the Export or Save icon in the top corner. Choose your preferred resolution (higher resolution is best if you plan to print the design or use it as a large graphic) and save it to your device.
Tips for Better 3D Text Results
- Keep it simple — 3D effects work best on short words or phrases (1–3 words), not long sentences.
- Match your background — choose a background that complements your text color instead of competing with it.
- Use contrast — light text on a dark background (or vice versa) makes the 3D effect much more visible.
- Save your project file, not just the exported image, so you can go back and make edits later.
Common Uses for 3D Text Designs
Once you’ve mastered this technique, you can use it for:
- YouTube thumbnails
- Instagram and TikTok graphics
- Logo concepts
- Posters and flyers
- Website banners
Final Thoughts
Creating 3D text in PixelLab is one of the quickest ways to level up your graphic design game without needing Photoshop or any desktop software. With a bit of practice adjusting depth, angle, and lighting, you’ll be able to create polished, professional-looking designs directly from your phone.
Got a design you made using this tutorial? We’d love to see it — feel free to share your creations in the comments below.