
How to Remove Background in PixelLab: Step-by-Step Guide (2026)
Want to cut a person or object out of a photo and place it on a thumbnail, poster, or new background? PixelLab has built-in tools that let you remove backgrounds right on your Android phone — no Photoshop, no paid app needed.
In this guide, you’ll learn two methods to remove backgrounds in PixelLab: the quick auto erase method and the precise manual eraser method, plus how to export your cutout as a transparent PNG.
What You Need

Name
How to Remove Background in PixelLab: Step-by-Step Guide (2026)
Date
Catagory
- PixelLab app installed (get the latest version here)
- A photo with a reasonably clear subject (works best when the subject stands out from the background)
- 5–10 minutes
Reality check: PixelLab’s background tools work great on simple backgrounds (solid colors, sky, walls). Busy, complex backgrounds need more manual work — that’s what Method 2 is for.
Method 1: Auto Background Erase (Fastest)
This is the quickest way — PixelLab tries to detect and remove the background automatically.
- Open PixelLab and tap “+” → From Gallery, then select your photo.
- With the image layer selected, tap the Eraser icon in the bottom toolbar.
- Look for the “Erase Color” or auto-erase option (the magic-wand style tool).
- Tap on the background area you want to remove — PixelLab erases all nearby pixels of similar color.
- Adjust the tolerance/sensitivity slider: higher values erase more (risky near edges), lower values are safer.
- Tap different background areas until most of the background is gone.
- Clean up leftover spots with the manual eraser (see Method 2).
Best for: product photos on white backgrounds, portraits against plain walls, sky backgrounds.
Method 2: Manual Eraser (Most Precise)
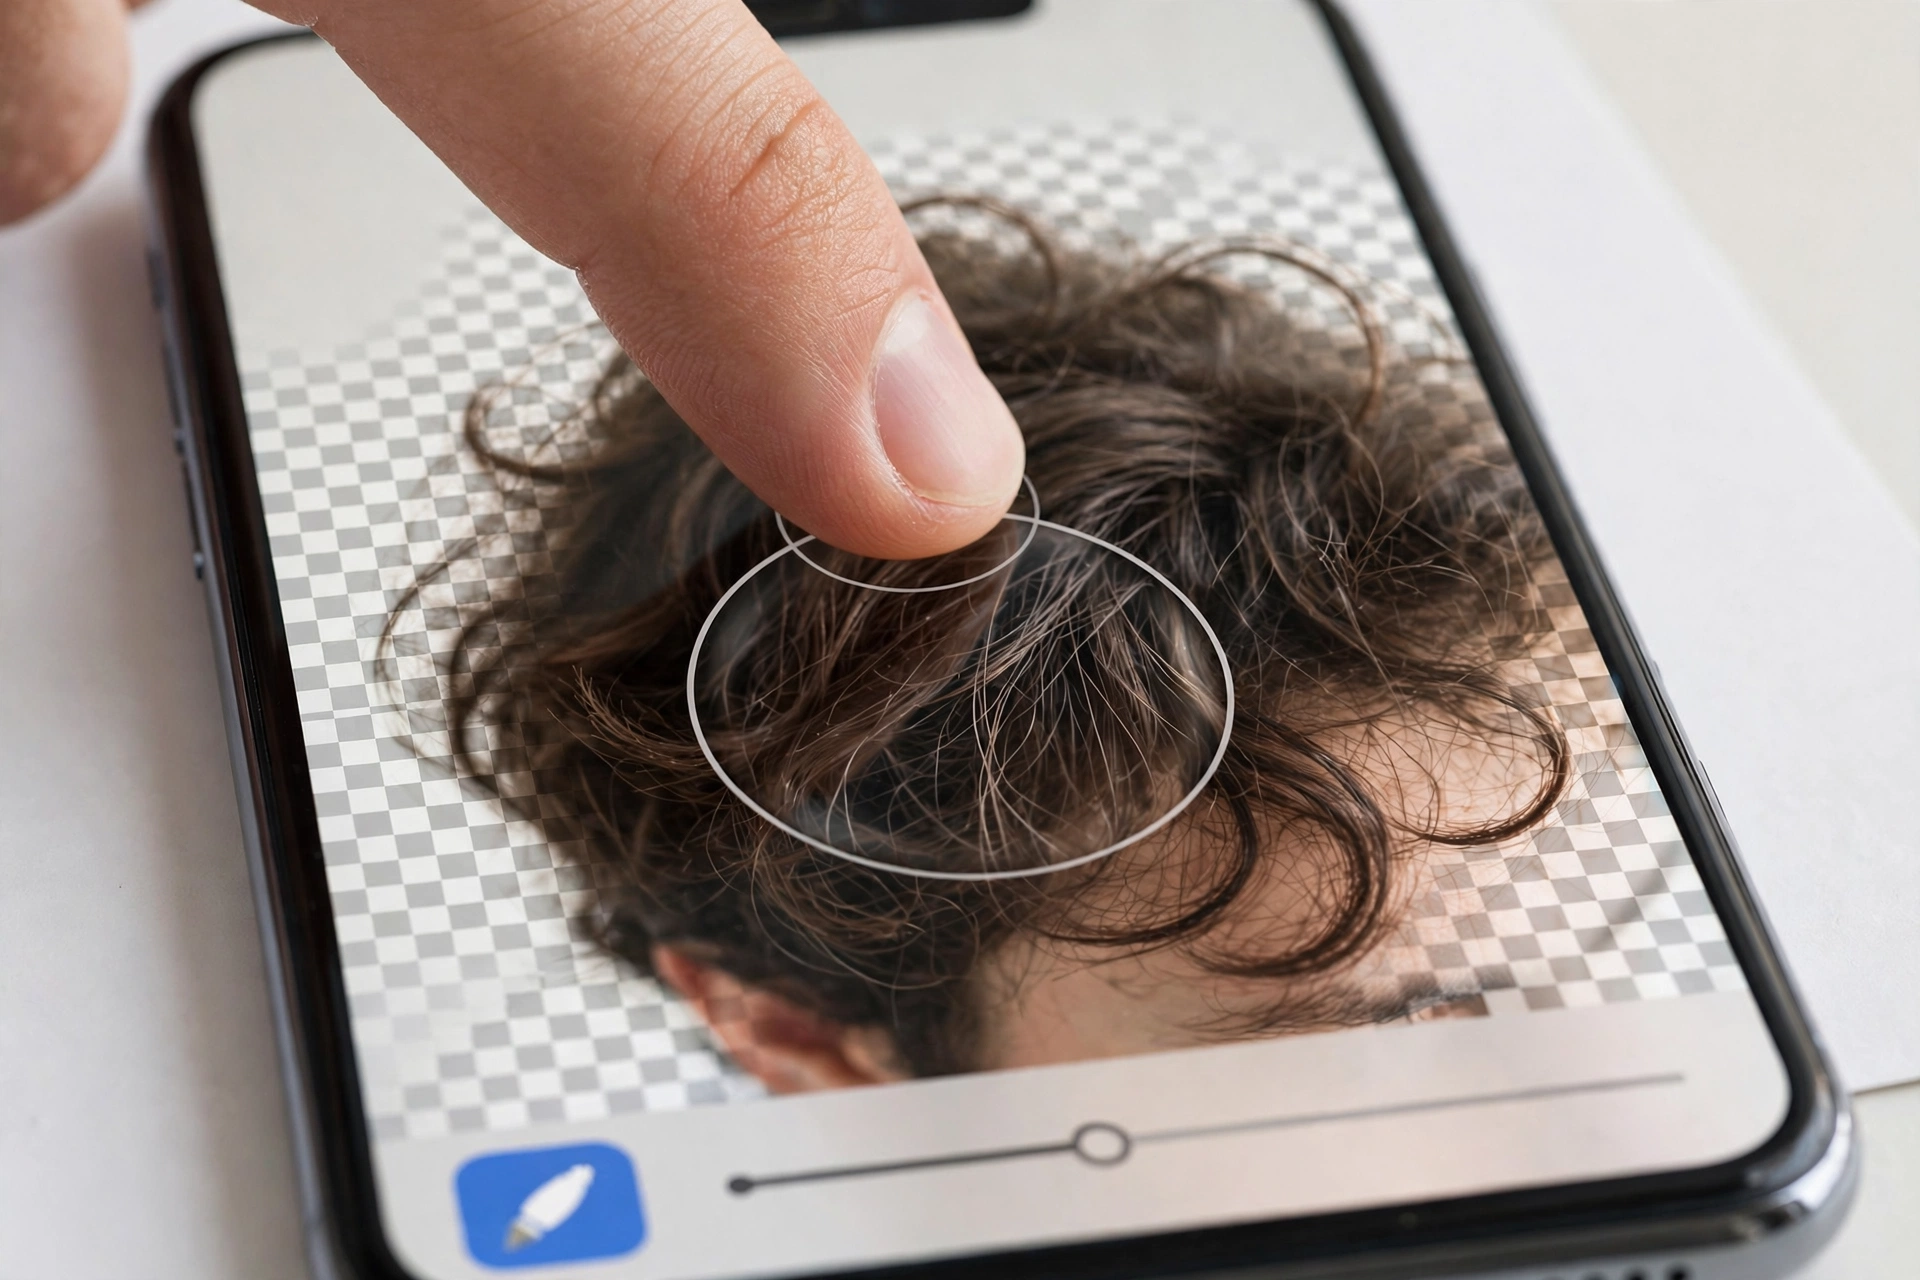
For tricky edges — hair, complex backgrounds, or when auto-erase eats into your subject:
- Import your photo as in Method 1.
- Select the image layer and tap the Eraser tool.
- Choose the manual brush eraser.
- Zoom in with two fingers — precision matters here.
- Set brush size small for edges, larger for big background areas.
- Carefully paint over the background around your subject. Take your time on edges.
- If you erase too much, tap Undo (curved arrow) immediately.
Pro technique: Erase the big areas first with a large brush, then zoom in and switch to a small brush for the outline. Work slowly around hair and detailed edges.
Tips for a Clean Cutout
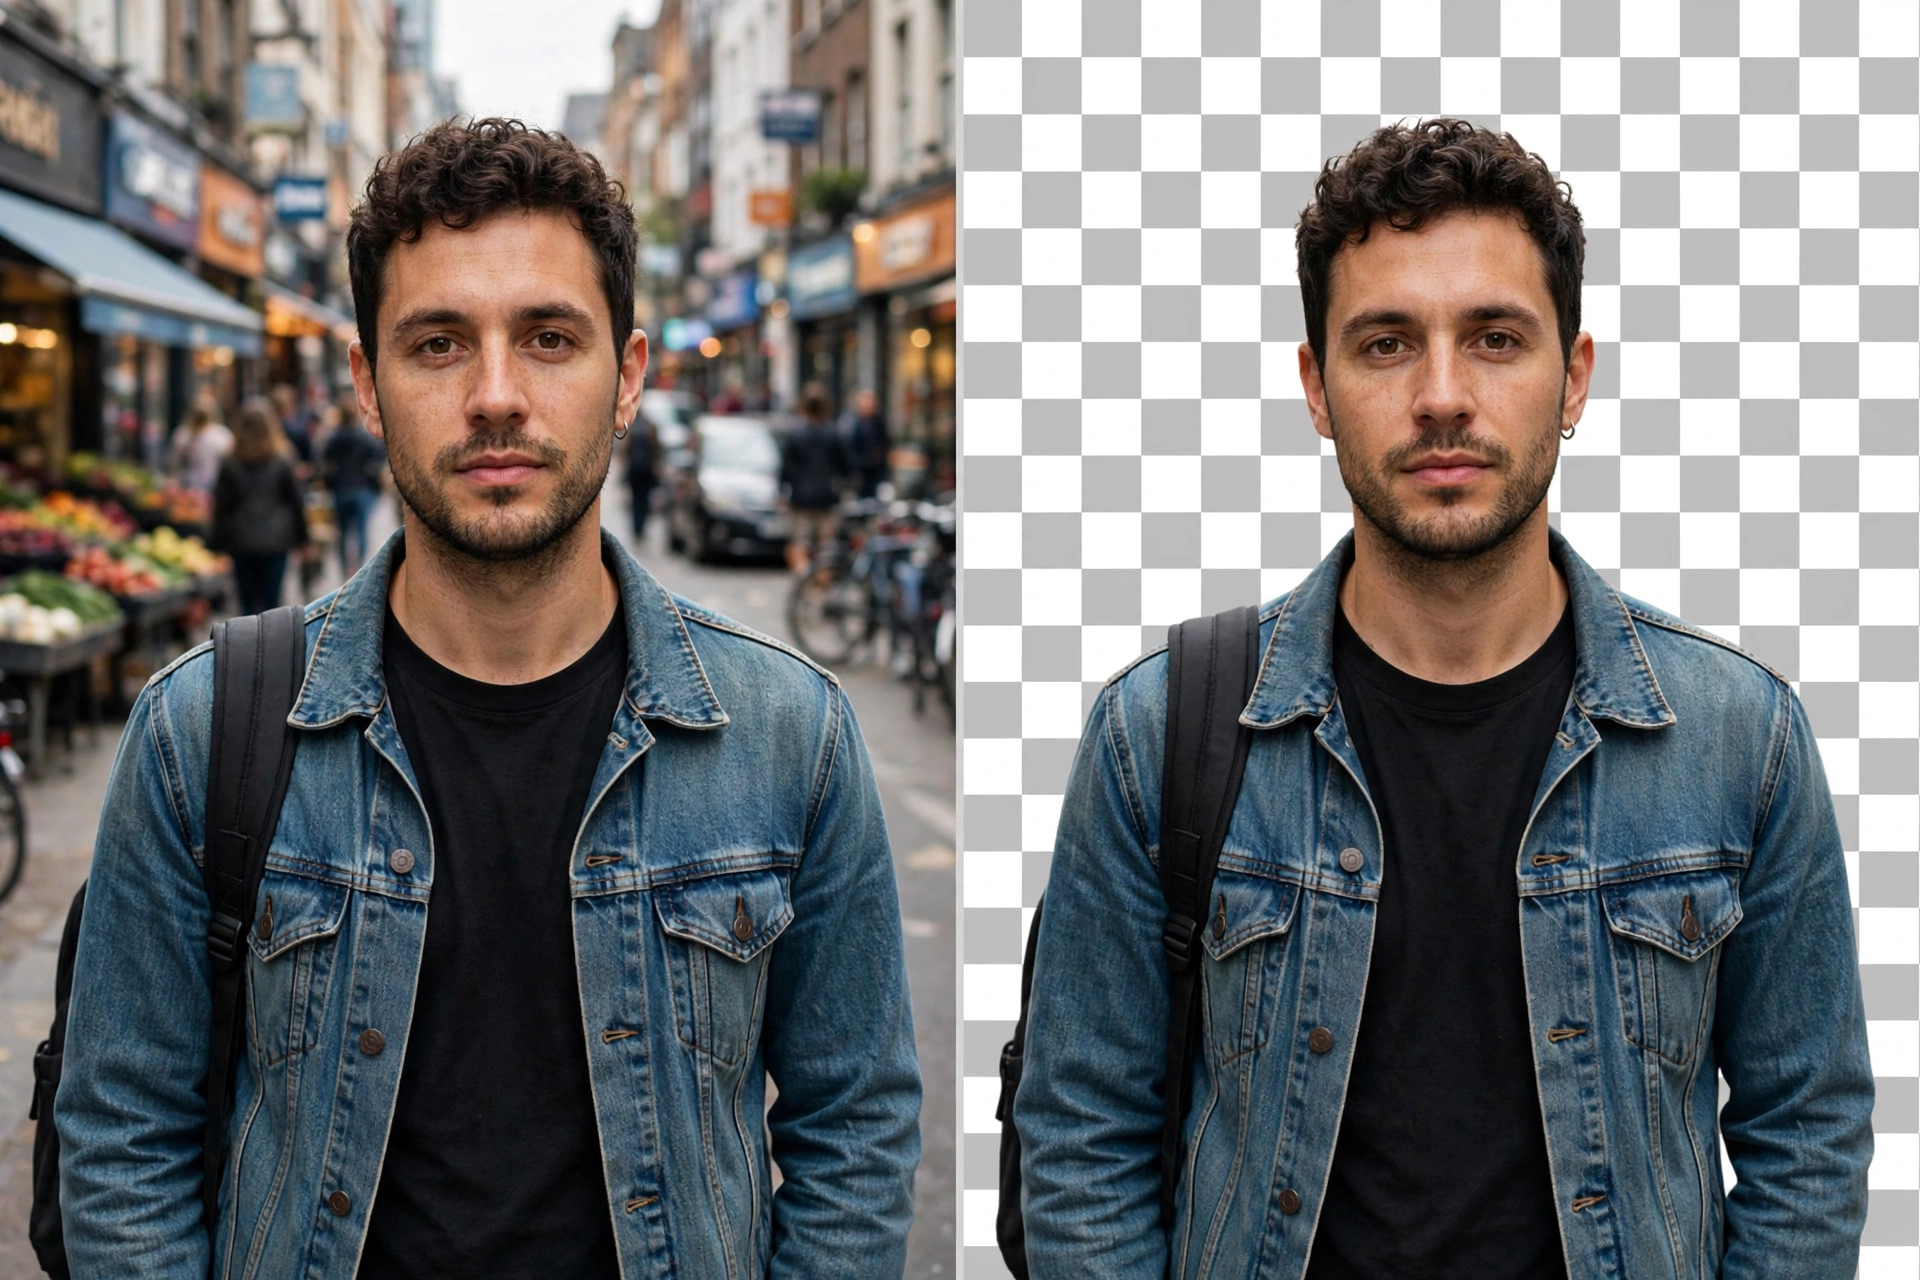
- Start with good lighting. A photo where the subject is well-lit and distinct from the background erases 10x easier.
- Use both methods together. Auto-erase the bulk, then manually fix the edges — this is how most creators do it.
- Zoom to 200%+ for edge work. What looks clean zoomed out often has a halo of leftover background pixels.
- Watch for halos. If you see a faint outline of the old background around your subject, zoom in and erase it with a small brush.
- Save your project (.plp file) before exporting — if you spot a mistake later, you can fix it without redoing everything.
How to Save with Transparent Background
- Make sure the canvas background is set to transparent (checkered pattern) — not white.
- Tap the save/share icon at the top.
- Choose Save as image → format PNG (JPG does not support transparency).
- Select Ultra quality and tap Save.
Your cutout is now a transparent PNG — drop it onto any YouTube thumbnail, poster, or design.
Common Mistakes to Avoid
- Erasing at low zoom. Always zoom in for edges, or you’ll leave jagged halos.
- Max tolerance on auto-erase. High sensitivity eats into your subject’s edges, especially similar-colored areas (like a white shirt on a white wall).
- Saving as JPG. Your “transparent” background becomes solid white. Always PNG.
- Skipping the project save. One wrong tap after an hour of erasing, with no .plp backup, is painful.
- Expecting miracles on messy photos. If the background is as detailed as the subject, even manual erasing takes patience. Sometimes retaking the photo against a plain wall is faster.
Frequently Asked Questions
Does PixelLab have a one-tap background remover? PixelLab has an erase-color/auto-erase tool that works like one-tap removal on simple backgrounds. For complex images, combine it with the manual eraser for best results.
Is background removal free in PixelLab? Yes — the eraser and background tools are part of PixelLab’s free feature set.
Why does auto-erase remove part of my subject? The tolerance is too high, or your subject shares colors with the background. Lower the sensitivity, undo, and try again — or switch to manual erasing near the subject.
What image format keeps transparency? PNG. Always export cutouts as PNG; JPG fills transparent areas with white (or black).
Can I change the background after removing it? Yes. After erasing, add a new background: tap “+” → pick a color, gradient, or import a new image, then send it behind your cutout using the layer order controls.
Final Words
Removing backgrounds in PixelLab is simple once you know the workflow: auto-erase the easy parts, manually clean the edges, export as transparent PNG. With a little practice, you’ll be cutting out subjects in minutes.
Now put your cutout to work — drop it into a YouTube thumbnail or pair it with fresh typography from our custom fonts guide.