
How to Blur Background in PixelLab: Step-by-Step Guide (2026)
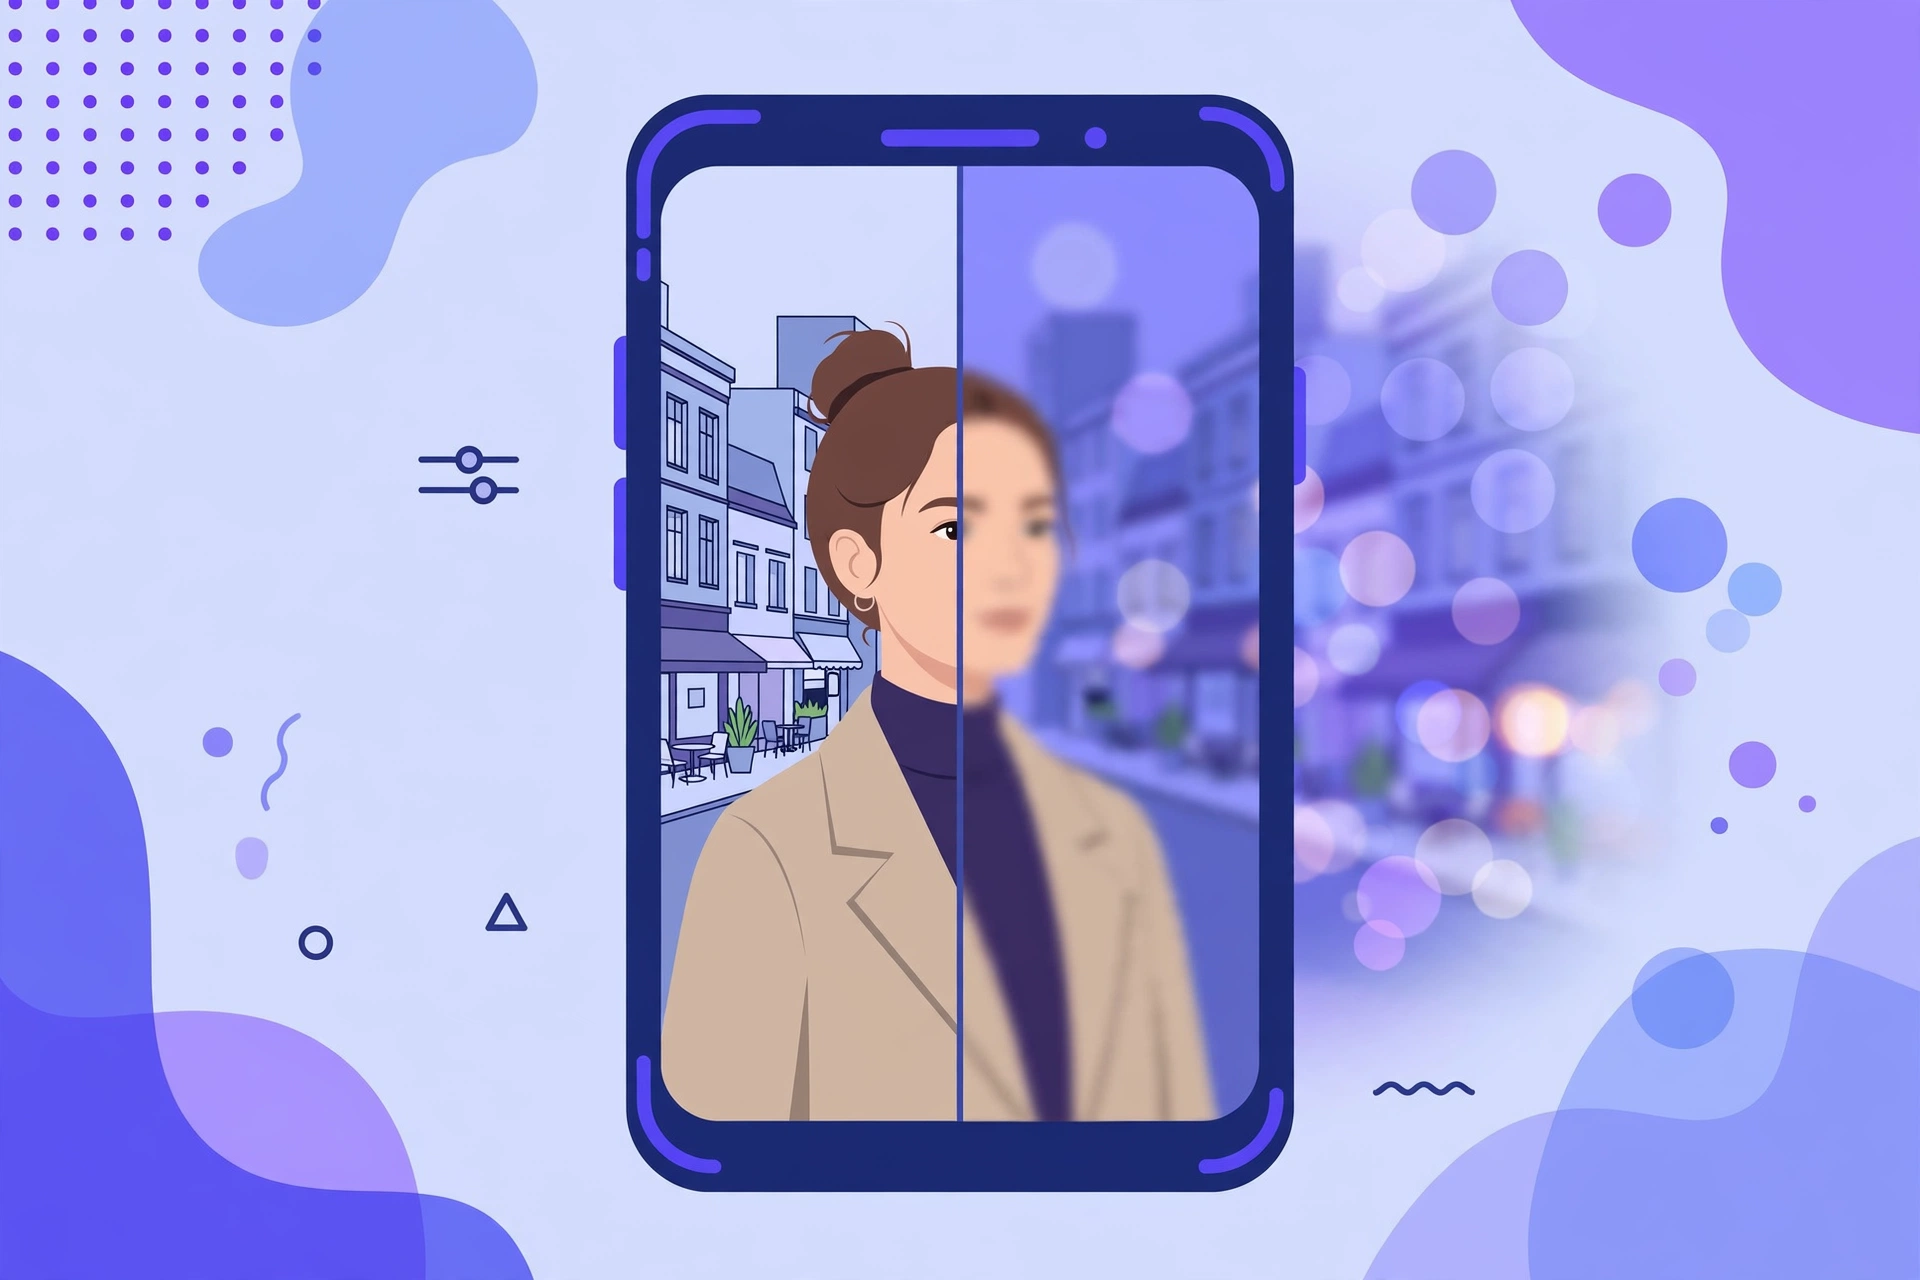
Want that professional portrait look where your subject is sharp and the background melts into a soft blur? PixelLab can do it right on your Android phone — no DSLR, no portrait mode, no paid app needed.
In this guide, you’ll learn two methods to blur backgrounds in PixelLab: a quick full-photo blur and the popular portrait-style blur where only the background is blurred and your subject stays sharp.
What You Need
- PixelLab app installed (get the latest version here)
- A photo with a clear subject (portraits, product shots, and pet photos work best)
- 5–10 minutes
Reality check: PixelLab doesn’t have a one-tap “portrait mode” like flagship phones. Method 2 below recreates that effect manually with layers — it takes a few extra minutes but looks genuinely professional.
Method 1: Blur the Whole Photo (Fastest)
Perfect for soft backgrounds behind text, quote posts, or dreamy banner images.
- Open PixelLab and tap “+” → From Gallery, then select your photo.
- Tap the image to select its layer, then open the image options/edit menu (the sliders or settings icon).
- Find the Blur option and tap it.
- Drag the intensity slider until the blur looks right — start low and increase slowly.
- Tap check/tick to apply.
Best for: blurred backgrounds behind text on posters, YouTube thumbnails, and quote graphics where readability matters more than detail.
Pro tip: After blurring, add your text on top with a slight shadow — blurred backgrounds make text pop without extra design work.

Method 2: Blur Only the Background — Portrait Effect (Most Popular)
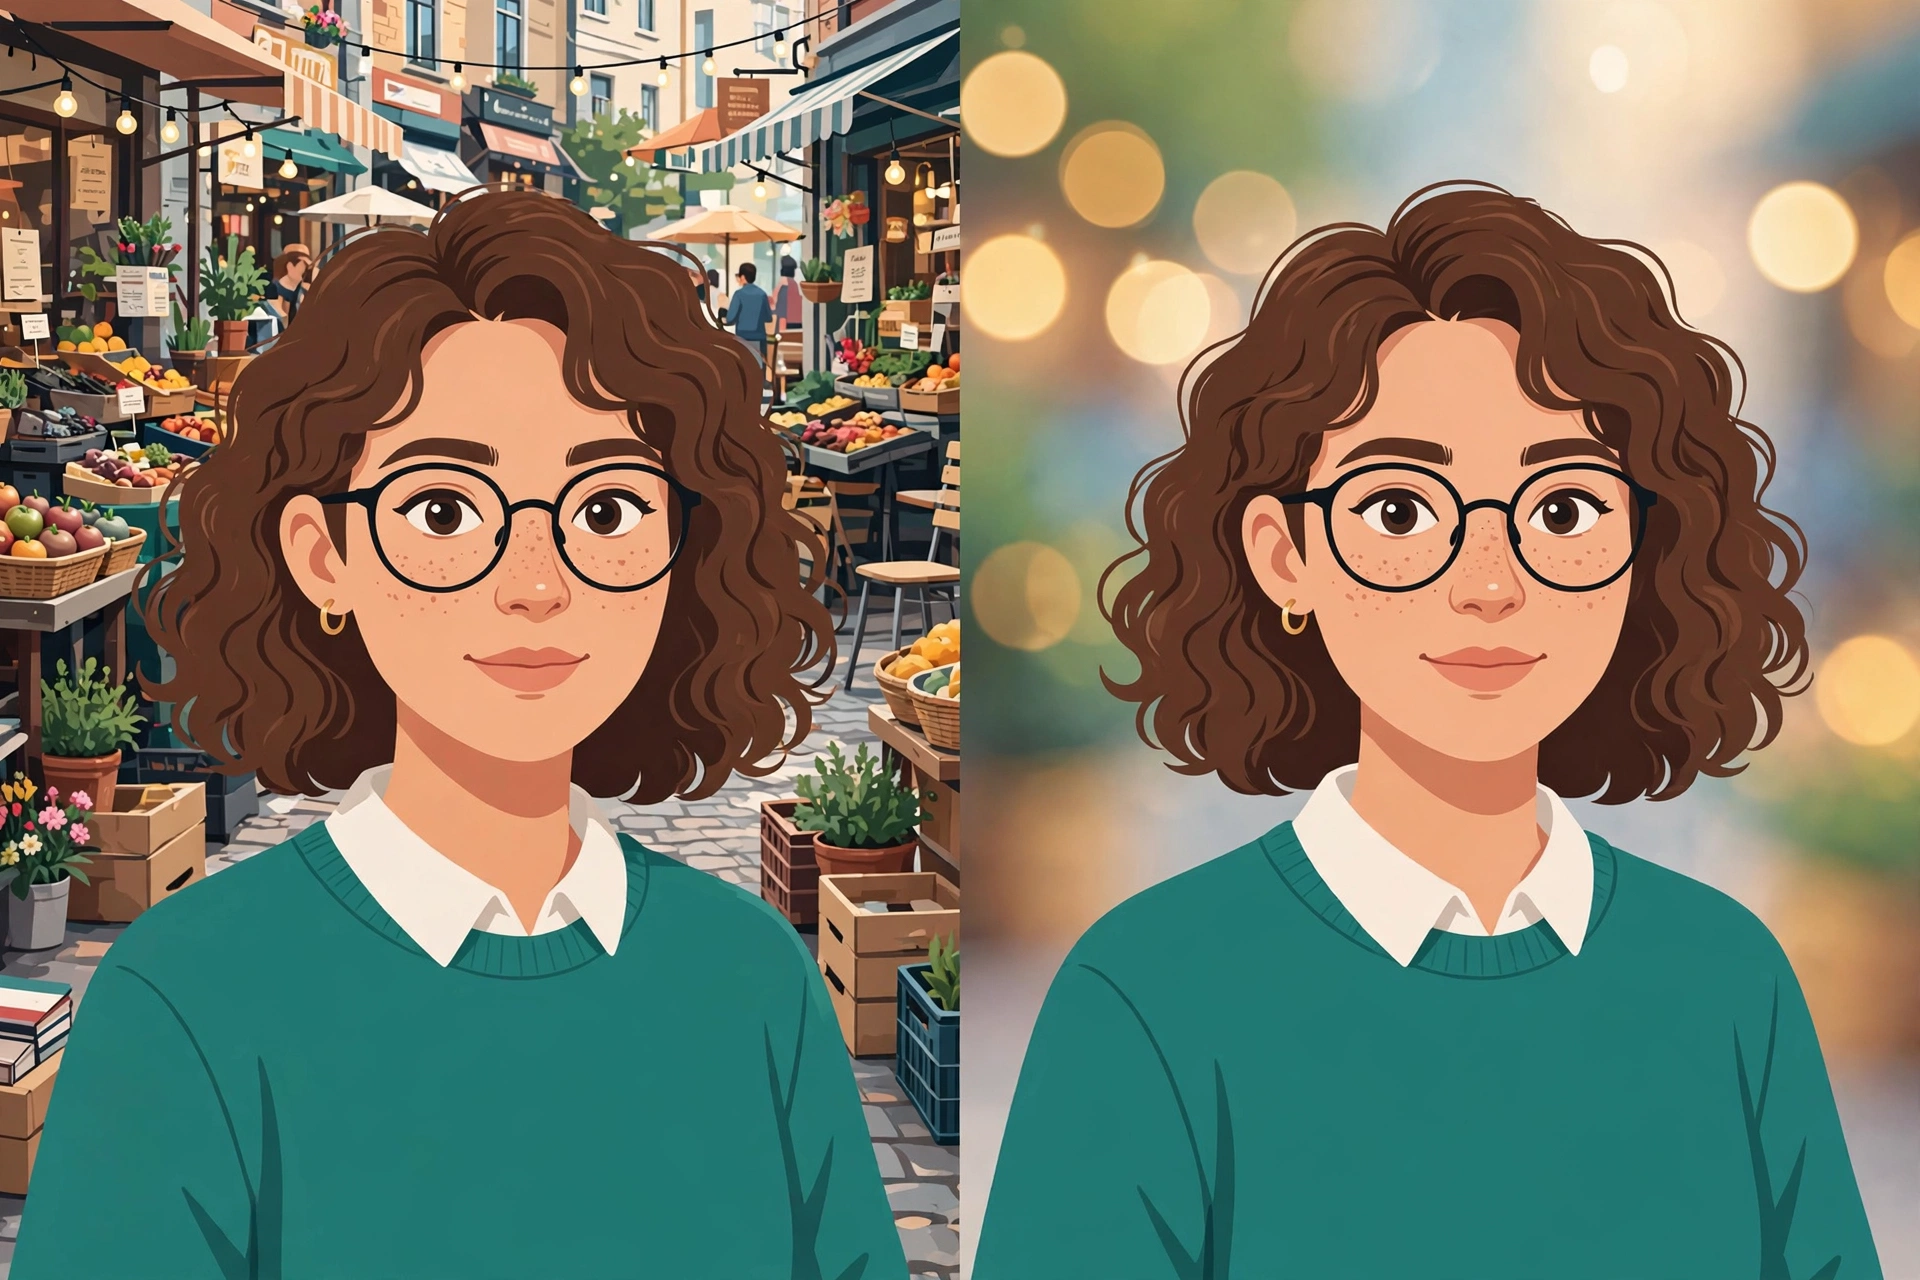
This is the DSLR-style look: sharp subject, creamy blurred background. It uses two layers and the eraser — the same technique from our background remover guide, used in reverse.
- Import your photo (“+” → From Gallery) — this will be your sharp bottom layer. Don’t touch it yet.
- Import the same photo again on top of the first one (“+” → From Gallery → same photo). You now have two identical layers stacked.
- Select the top layer and apply Blur from the image options — push the intensity fairly high. The whole top layer should look nicely soft.
- With the blurred top layer still selected, tap the Eraser tool.
- Choose the manual brush eraser and set a medium brush size.
- Carefully erase over your subject (person, product, pet). As you erase the blurred layer, the sharp photo underneath shows through — subject sharp, background blurred.
- Zoom in with two fingers around edges and switch to a small brush for hair, hands, and outlines.
- If you erase too much background, tap Undo immediately.
Pro technique: Erase slightly inside the subject’s outline rather than exactly on it — a 1–2 pixel margin avoids a sharp halo where blurred and sharp areas meet.
Tips for a Natural-Looking Blur
- Don’t over-blur. A medium blur looks like a real camera lens; maximum blur looks fake. If you can still faintly recognize the background, you’re in the sweet spot.
- Match the blur to the photo. Busy backgrounds (streets, crowds) need stronger blur; simple backgrounds (walls, sky) need only a little.
- Feather the edges. If your eraser has a softness/hardness setting, use a soft brush near the subject’s edges for a smooth transition.
- Start with a good photo. Sharp focus on the subject and some distance between subject and background gives the most convincing result.
- Save your project (.plp file) before exporting — edge cleanup is fiddly, and you’ll want to tweak it later.
How to Save Your Blurred Photo
- Tap the save/share icon at the top.
- Choose Save as image → format JPG (photos don’t need PNG transparency).
- Select Ultra quality and tap Save.
Common Mistakes to Avoid
- Blurring the subject too. In Method 2, zoom in and check edges — a blurred ear or hand ruins the portrait effect instantly.
- Uneven erasing. Random sharp patches in the background look like mistakes. Erase the subject fully, or not at all.
- Max blur on everything. Full-intensity blur on a simple background looks artificial. Dial it back.
- Skipping the zoom check. At normal zoom everything looks fine; zoom to 200% and you’ll spot the rough edges to fix.
- Forgetting the .plp save. One wrong tap after careful edge work, with no project backup, means starting over.
Frequently Asked Questions
Does PixelLab have a portrait mode? Not a one-tap portrait mode, but Method 2 above recreates the portrait effect manually — sharp subject with blurred background — and it works on any photo.
Is the blur tool free in PixelLab? Yes — blur and the eraser are part of PixelLab’s free feature set.
Can I blur just one part of a photo? Yes. Apply blur to the whole image, then use the eraser to “un-blur” (reveal the sharp layer beneath) only the parts you want sharp — or do the reverse for a tilt-shift effect.
Why does my blurred photo look fake? Usually the blur is too strong or the subject’s edges are rough. Reduce blur intensity and clean up edges with a small, soft eraser brush.
Related PixelLab Tutorials
- How to Remove Background in PixelLab — cut out subjects completely instead of blurring
- How to Make a YouTube Thumbnail in PixelLab — blurred backgrounds make thumbnails pop
- How to Add Custom Fonts in PixelLab — pair your blurred photo with great typography