How to Curve Text in PixelLab: Step-by-Step Guide (2026)
What Is Curved Text (And Why Use It)?
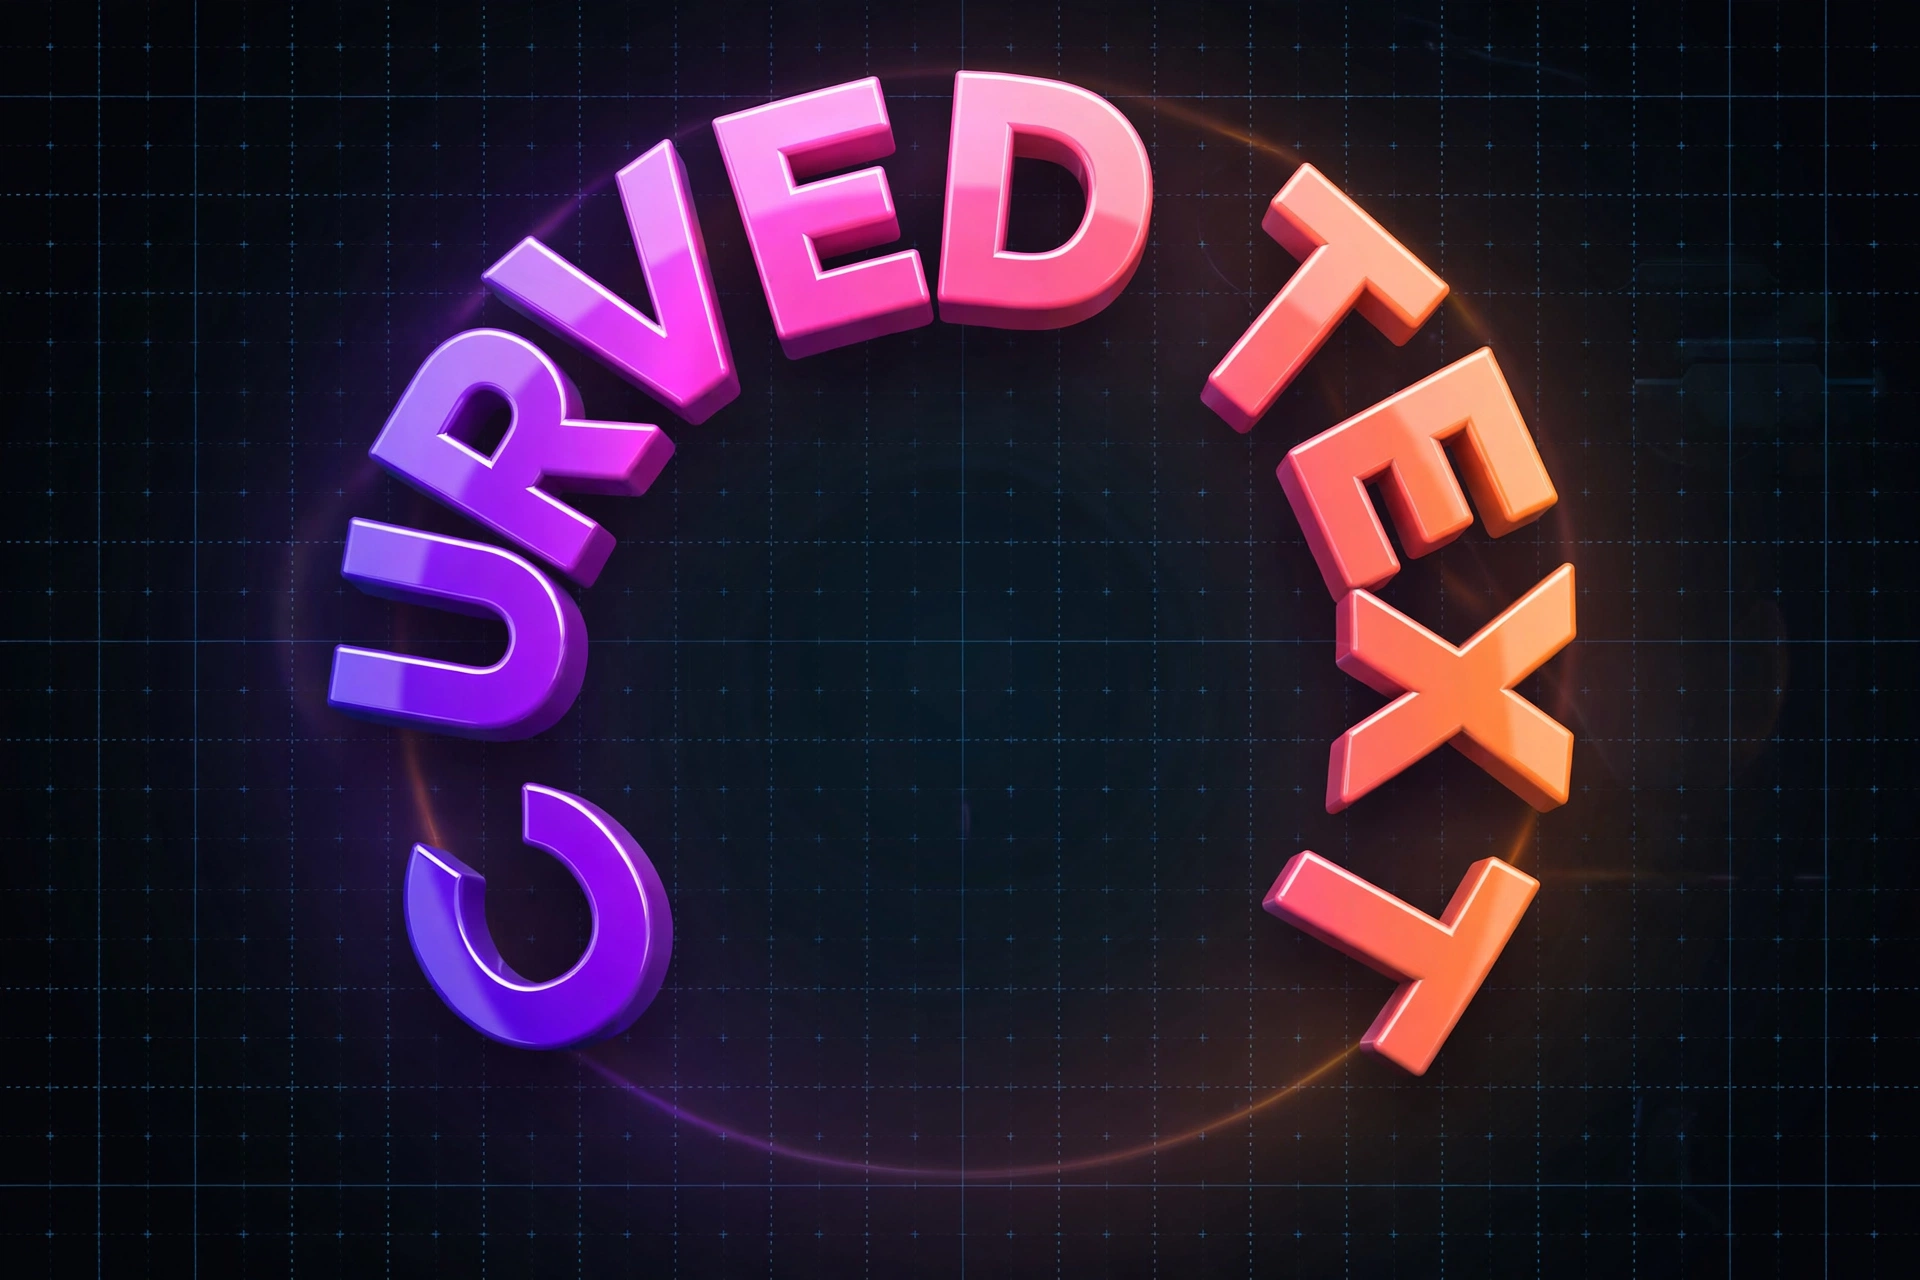
Curved text is text that bends along an arc or a full circle instead of sitting in a straight line. You have seen it everywhere: circular logo badges, sticker designs, coffee-shop emblems, YouTube channel art, and sale stickers. It instantly makes a design look professional — and in PixelLab you can create it on your phone in under a minute, no laptop or Photoshop needed.
What You’ll Need
- The PixelLab app installed on your Android phone (free version is enough)
- About 2 minutes
- A bold font (bold fonts curve much more cleanly than thin ones)
How to Curve Text in PixelLab — Step by Step
Step 1: Add Your Text
Open PixelLab and tap the Text button (the “A” icon). Type the words you want to curve — keep it short. Short phrases like “SALE”, “PREMIUM QUALITY” or a brand name curve far more cleanly than long sentences.
Step 2: Select the Text Layer
Tap your text on the canvas to select it. If you have multiple layers, open the layers panel and make sure the right text layer is highlighted.
Step 3: Open the Curve Option
With the text selected, open the text editing menu and look for the Curve option. (If you don’t see it, update PixelLab to the latest version from the Play Store — the curve tool is in all recent versions.)
Step 4: Adjust the Curve Slider
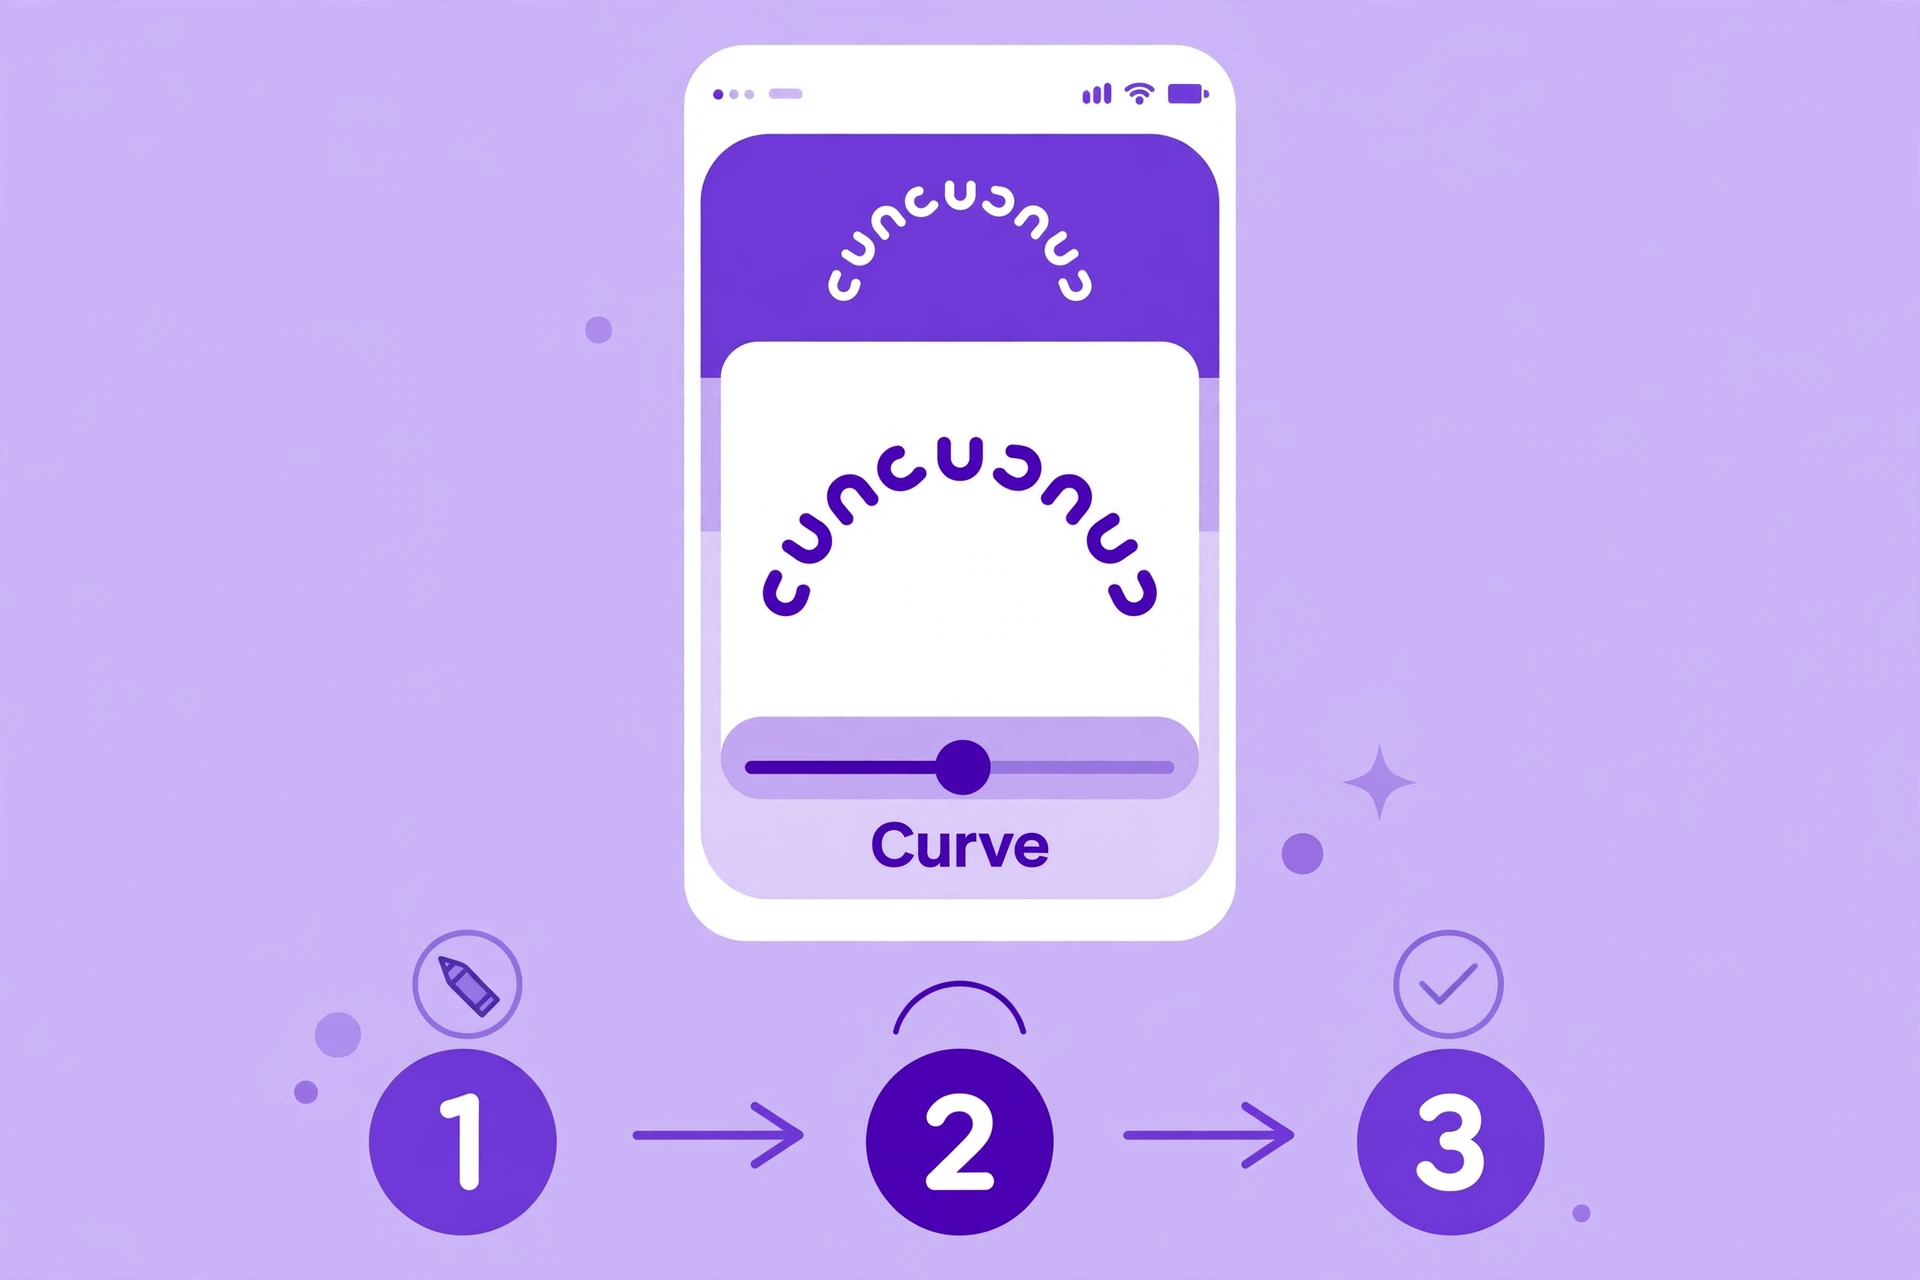
Drag the curve slider and watch your text bend in real time. Sliding one way creates an upward arc (like a smile), sliding the other way creates a downward arc (like a frown). Push the slider to the maximum and your text forms a full circle — perfect for round badges and stickers.
Step 5: Fine-Tune Spacing and Position
Curved text needs breathing room. Increase the letter spacing slightly so letters don’t collide on tight curves, then drag the text to center it on your design. Resize with two fingers until the arc sits exactly where you want it.
Pro Tips for Perfect Curved Text
- Use bold fonts. Thin fonts stretch and break apart on strong curves; bold typefaces stay solid.
- Keep it short. One to three words is the sweet spot for circular designs.
- Combine with 3D. Curve your text first, then add PixelLab’s 3D effect on top — the result looks like professional logo work. See our 7-step 3D text tutorial for the full method.
- Make circular badges: curve one line of text into the top arc, duplicate it, flip it, and curve it into the bottom arc — instant emblem logo.
- Try premium fonts. A great curved badge starts with a great typeface — grab some from our free fonts for PixelLab thumbnails guide.

Common Mistakes to Avoid
- Over-curving long sentences — the middle letters get crushed. Shorten the text or split it into two arcs.
- Using thin fonts — they look broken on tight curves. Switch to bold.
- Forgetting to center — an off-center arc makes the whole design look lopsided. Zoom in and check.
FAQs
Can I curve text into a full circle in PixelLab?
Yes. Push the curve slider to its maximum and the text wraps into a complete circle — ideal for round stickers and badges.
Does curving work with custom fonts?
Yes, the curve tool works with any font installed in PixelLab, including custom TTF fonts you import yourself.
Why does my curved text look stretched?
That happens when letter spacing is too tight for the curve amount. Increase letter spacing and reduce the curve slightly until every letter looks even.
Final Words
Curved text is one of those small skills that makes your designs look instantly more professional — logos, badges, stickers, and thumbnails all benefit. It takes about two minutes to learn in PixelLab, and once you know it, you’ll use it everywhere. Try it on your next YouTube thumbnail and watch the difference.